EP 1: An Introduction to MCN

Episode 1: An Introduction to MCN

TL;DR

  • MCN looks and operates like Salesforce CRM, not a traditional marketing tool, so expect a learning curve with its UI and objects logic.

  • The biggest mindset shift is understanding that MCN shares a database with your CRM, which changes how familiar things like consent, forms, and even email footers work.

  • The three core pillars you already know (database, automation, and content) still exist in MCN, just in different forms.

  • Migrations are always messy, but especially here.

  • Take your time with documentation, build a buffer into your timeline, and don’t try to do this alone!

  • A quick tour of MCN’s main tabs to help you get your bearings.

          Welcome to RP’s MCN Migration Guide! 

          This guide is for marketing operations professionals who are migrating to MCN (or are preparing to). To master this platform, we took on the challenge of migrating our own to MCN – so this entire course is built from real migration experience. 

          The guide as a whole will be extensive, with multiple videos and articles to come that will dive deep into all the technical details. But for this first episode, we want to take a step back and get you acquainted with the platform at a higher level, and talk about the type of mindset to adopt going into it.

          It’s important to remember that Marketing Cloud Next (MCN) is not like other marketing automation platforms (MAPs). So if you’re coming from another MAP and expecting your intuition to carry over, you’re going to have a harder time than you’d like.

          Walking in with these expectations makes a big difference. MCN operates on different logic, looks different, and has a much deeper connection to Salesforce CRM than you’re probably used to. If you keep that in mind from the beginning, you’ll set yourself up for a much smoother experience!

          Let’s jump right in.

          Why MCN Feels Different (and the Mindset That Helps)

          The first thing you’ll notice is that MCN doesn’t look like a traditional marketing tool. It looks and feels a lot more like Salesforce CRM, and that’s not a coincidence. MCN is deeply connected to the Salesforce ecosystem in a way that most MAPs aren’t. If you’re a system expert in another platform, a lot of that intuition won’t carry over here. Even basic things like knowing where to click and what to look for will take quite a while to get used to for many marketing ops folks.

          Aside from UI, the deeper challenge is the object’s logic. Salesforce has operated on this logic for a long time, but when you’re used to MAPs that give you a friendlier, more marketer-native experience, suddenly having to think in terms of “objects” can feel paralyzing.

          One Database, Shared with Your CRM

          The biggest mindset shift is accepting that you are working with one database that is shared with your CRM, and really understanding what that means in practice.

          In MCN, your leads and contacts from Salesforce CRM flow into Marketing Cloud Next, where they get mapped through Data Cloud and transformed into unified individuals. You set up identity rules that match records to those unified individuals, so you’re not working with duplicates in your database. It’s a powerful setup, but it does require you to think differently about processes. Here are a few examples that highlight what we mean:

          Company address. In MCN, you can’t simply add your company address to an email footer the way you would in other platforms. MCN enforces it with a specific field, and if you haven’t populated it correctly, it blocks the email automatically. Something as routine as updating a company address becomes a research exercise, because the marketing layer and the CRM layer are the same underlying system.

          Consent. In most MAPs, you’d expect consent to live as a field on the contact or lead record. But in MCN, consent is a separate object that has to be populated independently, and the connection happens on the backend in a way that isn’t immediately visible. It’s disorienting when you go to build a segment of marketable contacts, and you’re looking for a consent checkbox that isn’t there.

          Form submissions. When someone submits a form on your website, every instinct built from working with other platforms tells you that person should appear in your database as a lead or contact. In MCN, that’s not what happens. A form submission creates a form submission object. You then have to translate that into a lead and a contact yourself. It sounds like extra work, and at first it feels like it. But once you understand the underlying logic, you get used to it.

          The Fundamentals Are Still Here

          For all that is different, the fundamental structure of what a MAP does hasn’t changed. MCN still has the three core areas you already know:

          Database:
          Your unified individuals, sourced and deduplicated through Data Cloud.

          Automation:
          Salesforce Flows – drag-and-drop journeys that have existed in the Salesforce ecosystem for a long time.

          Content:
          Your content management system, where you build whatever you need. 

          These are your anchors. If you’re starting to get frustrated and confused, come back to them.

          Migration Tips

          Take Your Time with Documentation

          Documentation is the part of the process where it’s really important not to rush. Even if you’re under a tight deadline, resist the urge to skip steps. When planning, give yourself more time than you think you’ll need. It will come in handy down the road. 

          And good documentation isn’t just an inventory. It’s the foundation for a lot of important decisions. It’ll help you answer questions like: What do you want to keep? What do you want to leave behind? And what do you want to change? Here’s what that process typically involves:

          • Conversations with your internal marketing team. This will take time, but it’s absolutely crucial that everyone is on the same page from the beginning. Clear, open communication from everyone involved will prevent confusion and speed up adoption.
              
          • A genuine cleanup pass. Migrations are one of the rare moments where you have a real reason to reorganize and cut the dead weight. If there’s something you’ve been putting off, now is the time!

          • Double-check. When a stakeholder says, “We can let this go,” come back to it a couple of weeks later. Sometimes, something that seemed disposable turns out to be worth keeping. But there’s a balance here too. We often get attached to certain ways of doing things because they’re familiar, so make sure to look at processes with a critical eye.

          Whatever format works for you is fine. Whether that’s an Excel sheet or a Google Doc with bullet points, just make sure it’s thorough.

          Be Realistic About Your Timeline

          MCN’s learning curve will slow you down in ways you won’t see coming. Build in a two or three-week buffer at a minimum. And if you need support from Salesforce at any point (and it’s pretty common that you will), that alone can take a week or more to resolve, longer if public holidays are in the mix. On the upside, because you’re staying within the Salesforce ecosystem, database migration tends to be quicker than moving to an entirely new platform. But don’t let speed in one area lull you into underestimating the overall effort.

          This is also not a one-person project, even for smaller companies. If someone on your internal team can be pulled in, do it! If there isn’t anyone technical enough internally, think seriously about bringing in external help.

          Platform Orientation

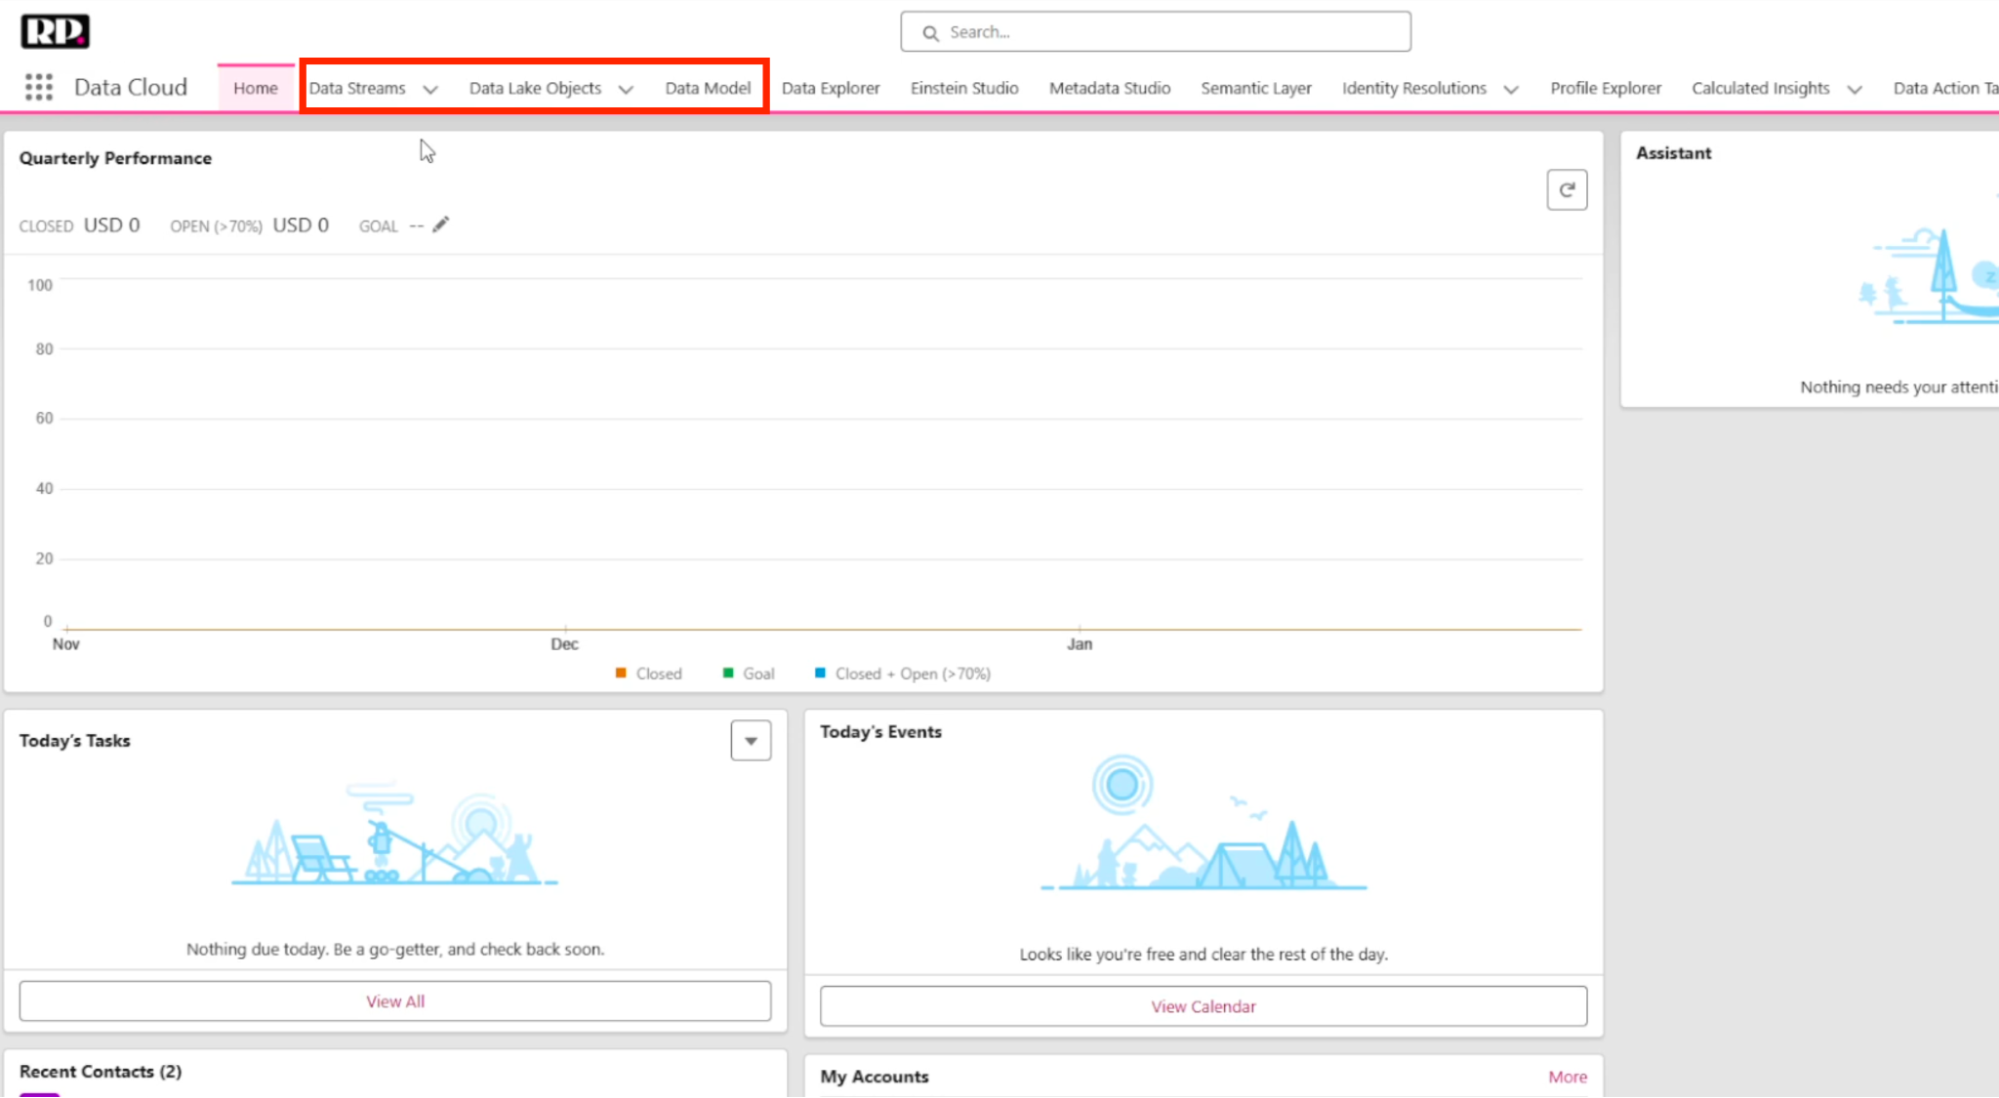
          Before we move on to the next Episode, here’s a quick look at how MCN is organized and where things live. This is a very high-level look at things, just to help you get your feet wet.
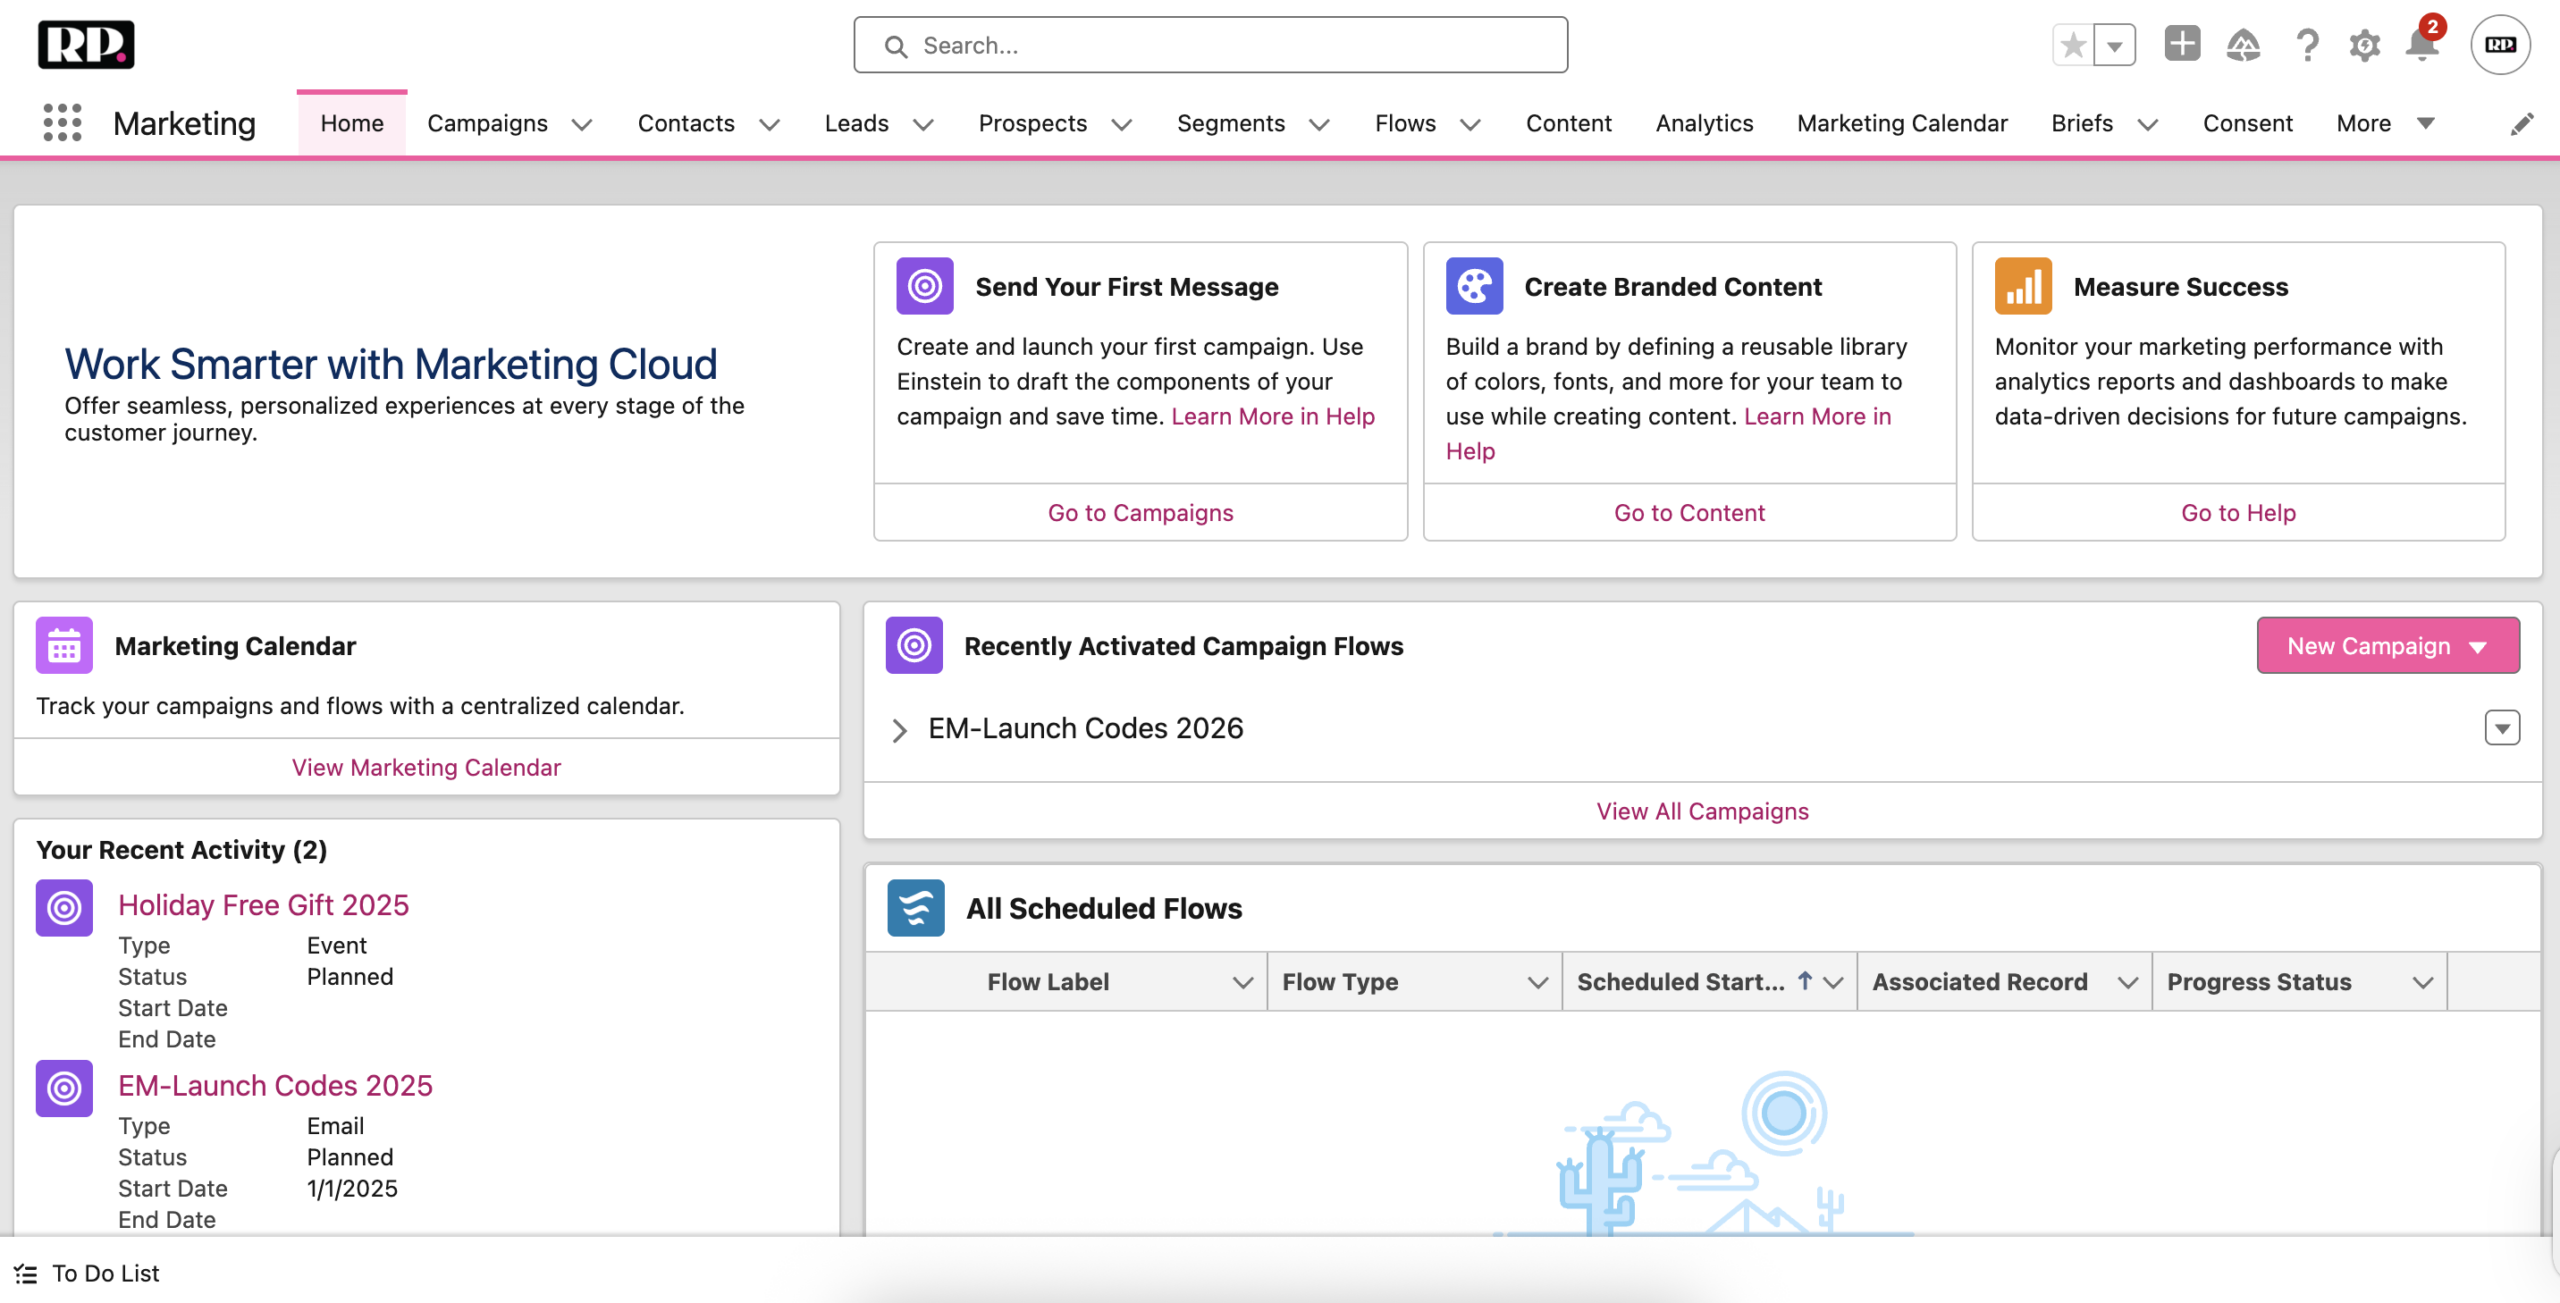
          (MCN Home Screen)

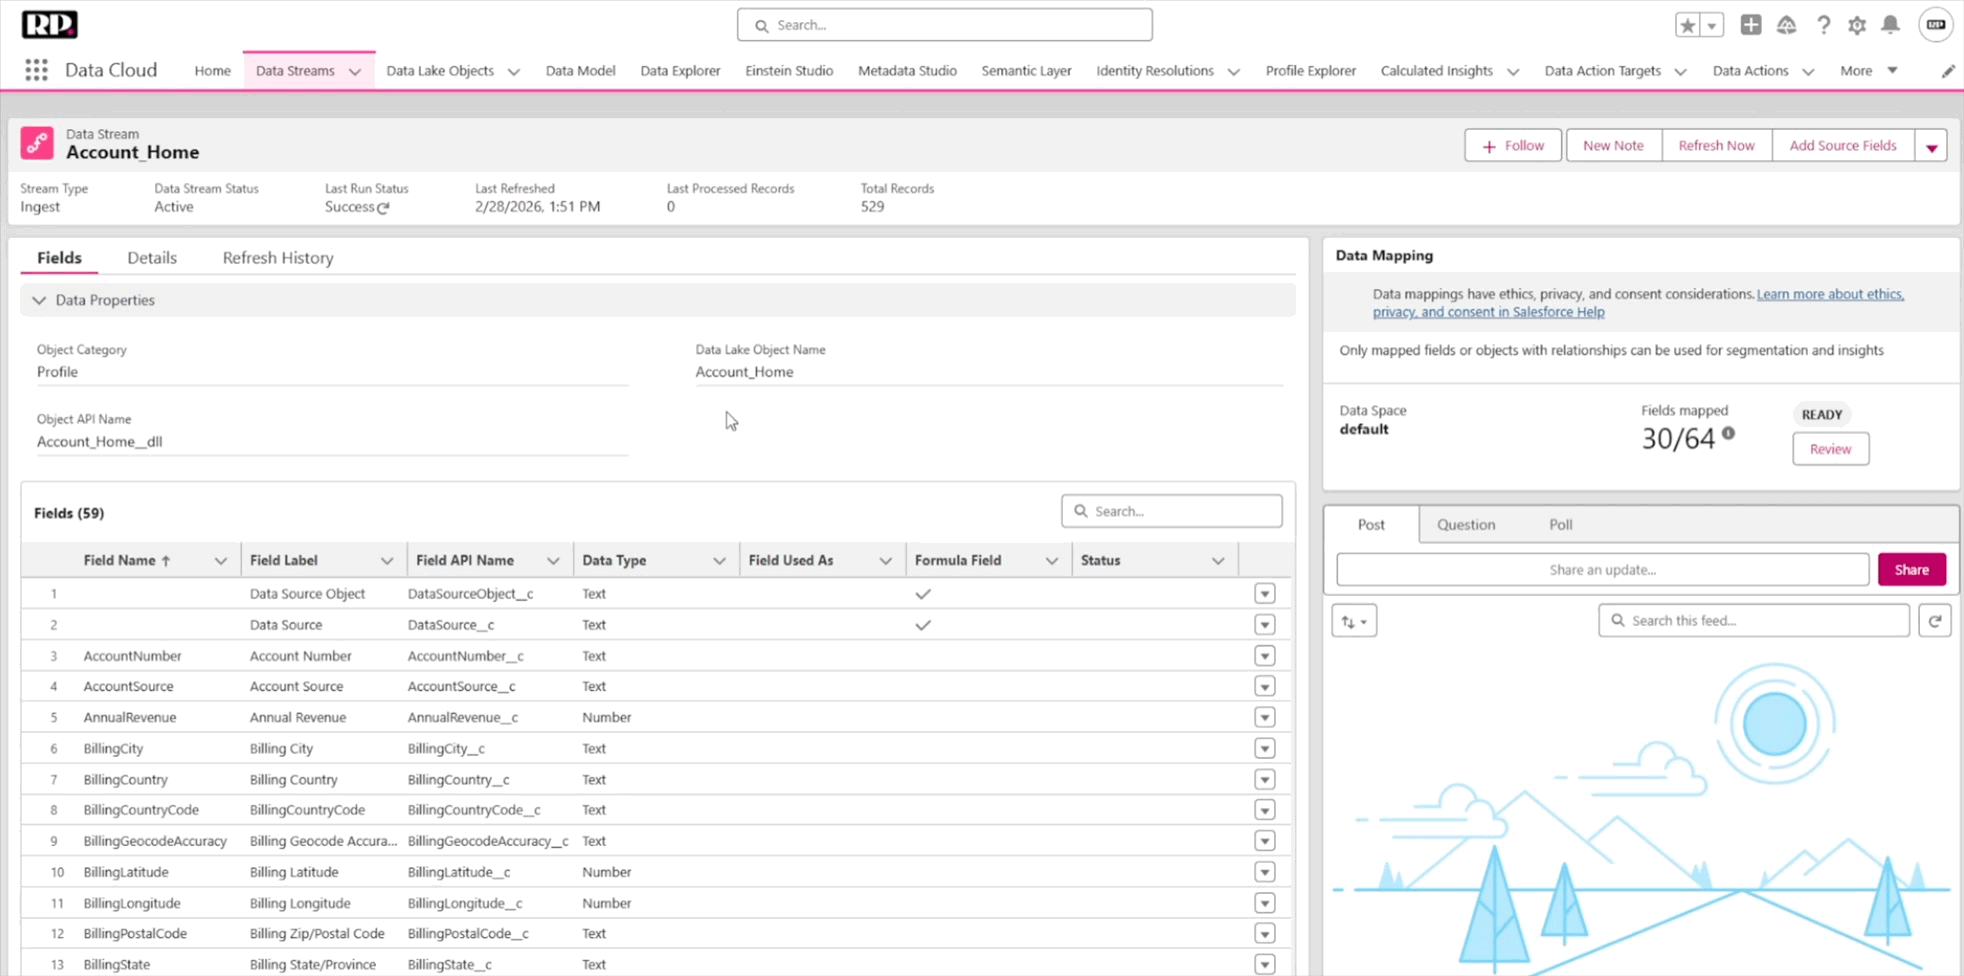
          Campaigns is where you do most of your work. You can select from quick-start flows or create new ones from scratch, with multiple flows within a single campaign. This is where your content connects with your individuals.

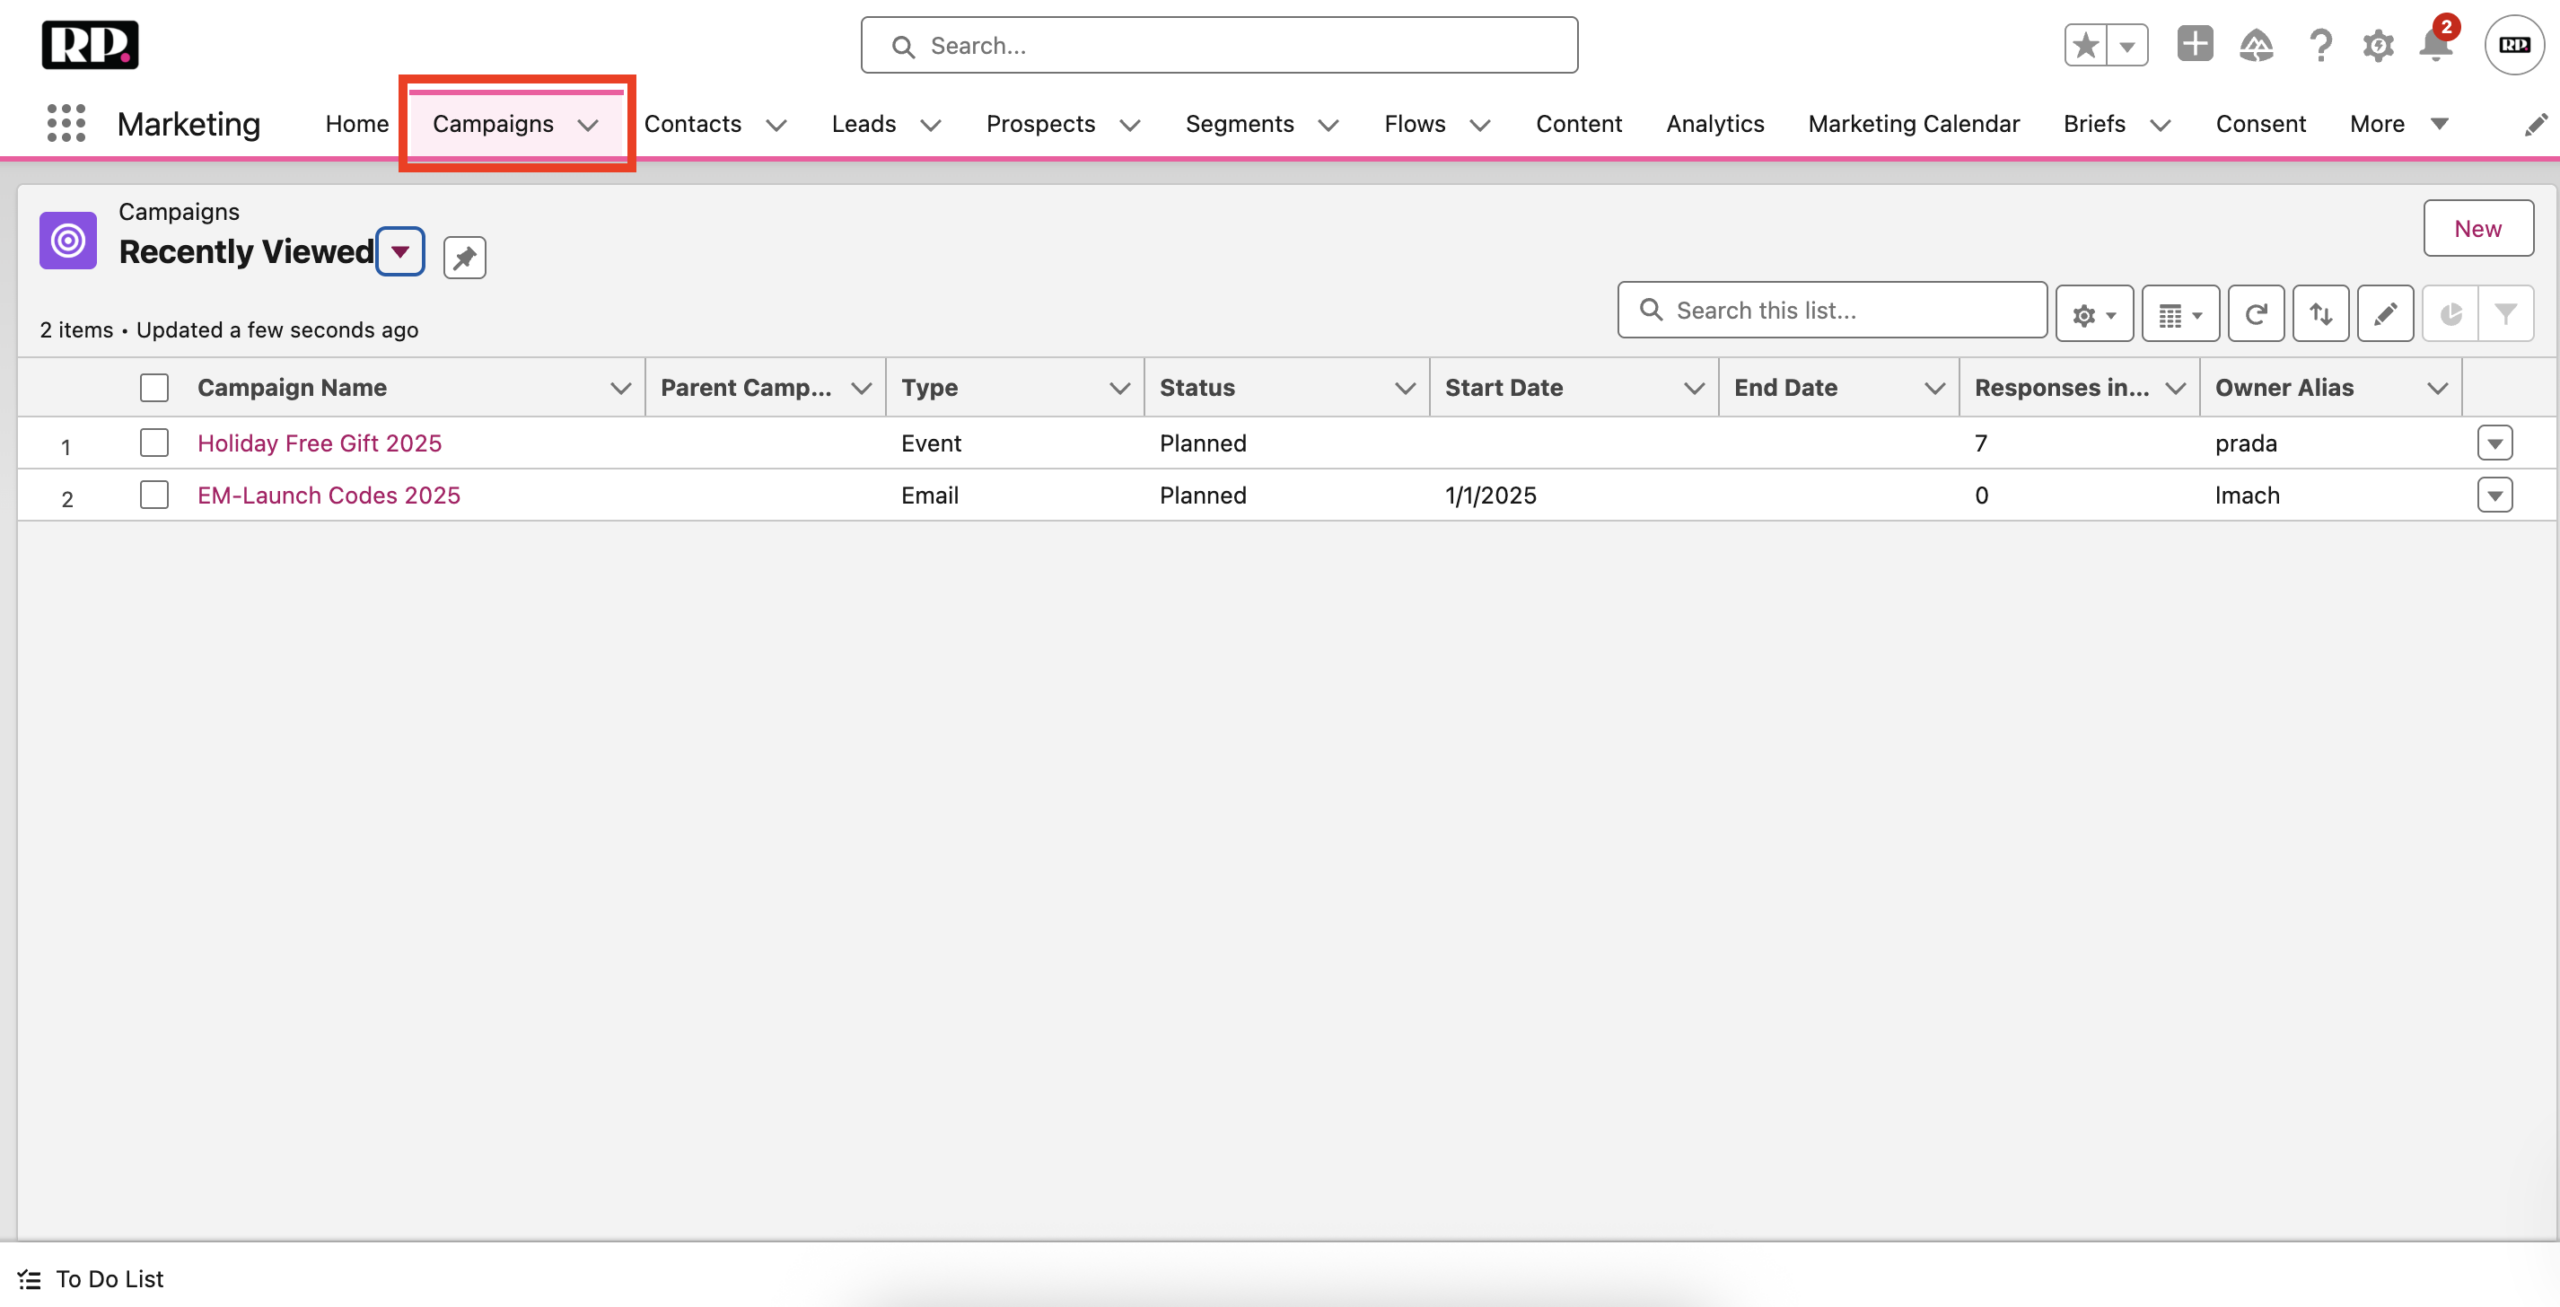
          (The Campaigns tab in MCN)

          Then you have your Contacts, Leads, and Prospects tabs, which are pretty self-explanatory, so we’ll gloss over them for now.

          Next is the Segments tab is where your audiences live.

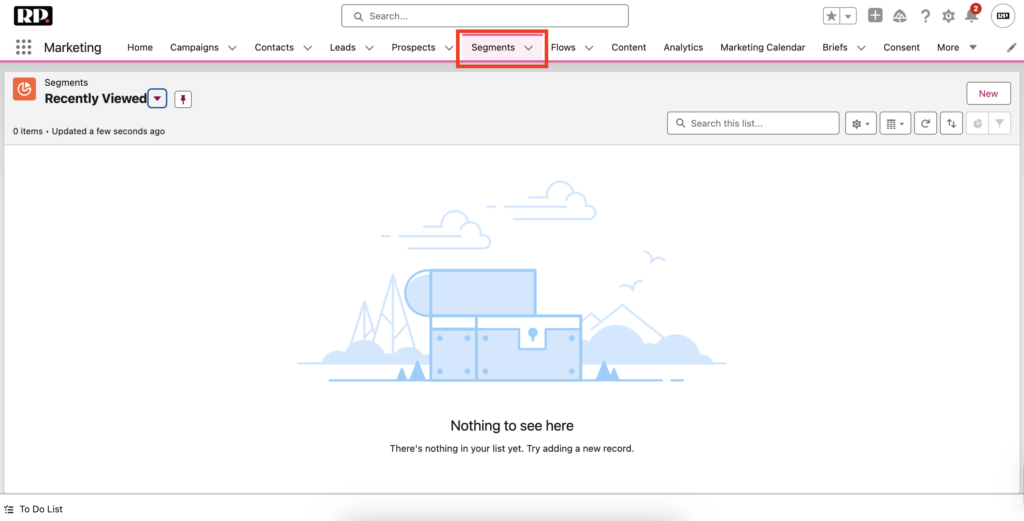
          (The Segments tab in MCN)

          Flows show all your active automations that connect content to individuals.

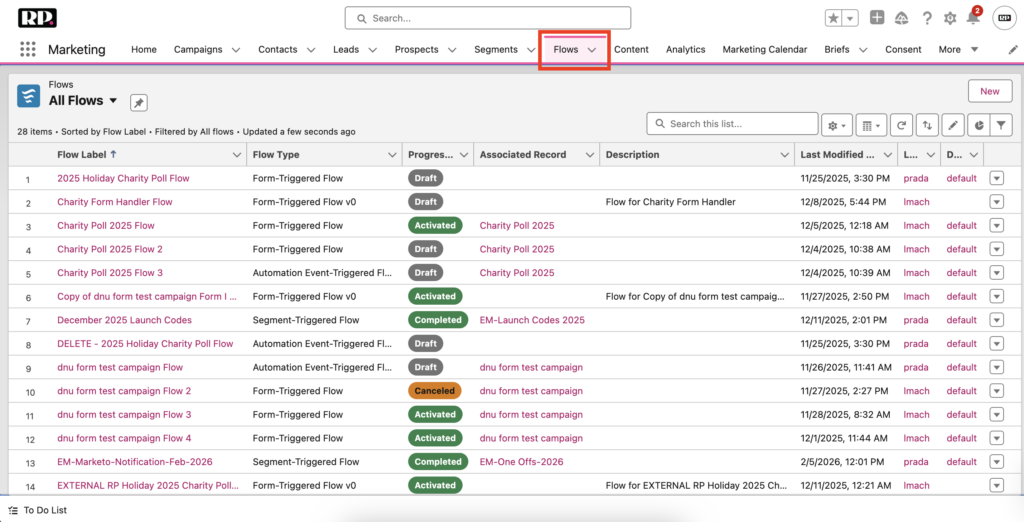
          (The Flows tab in MCN)

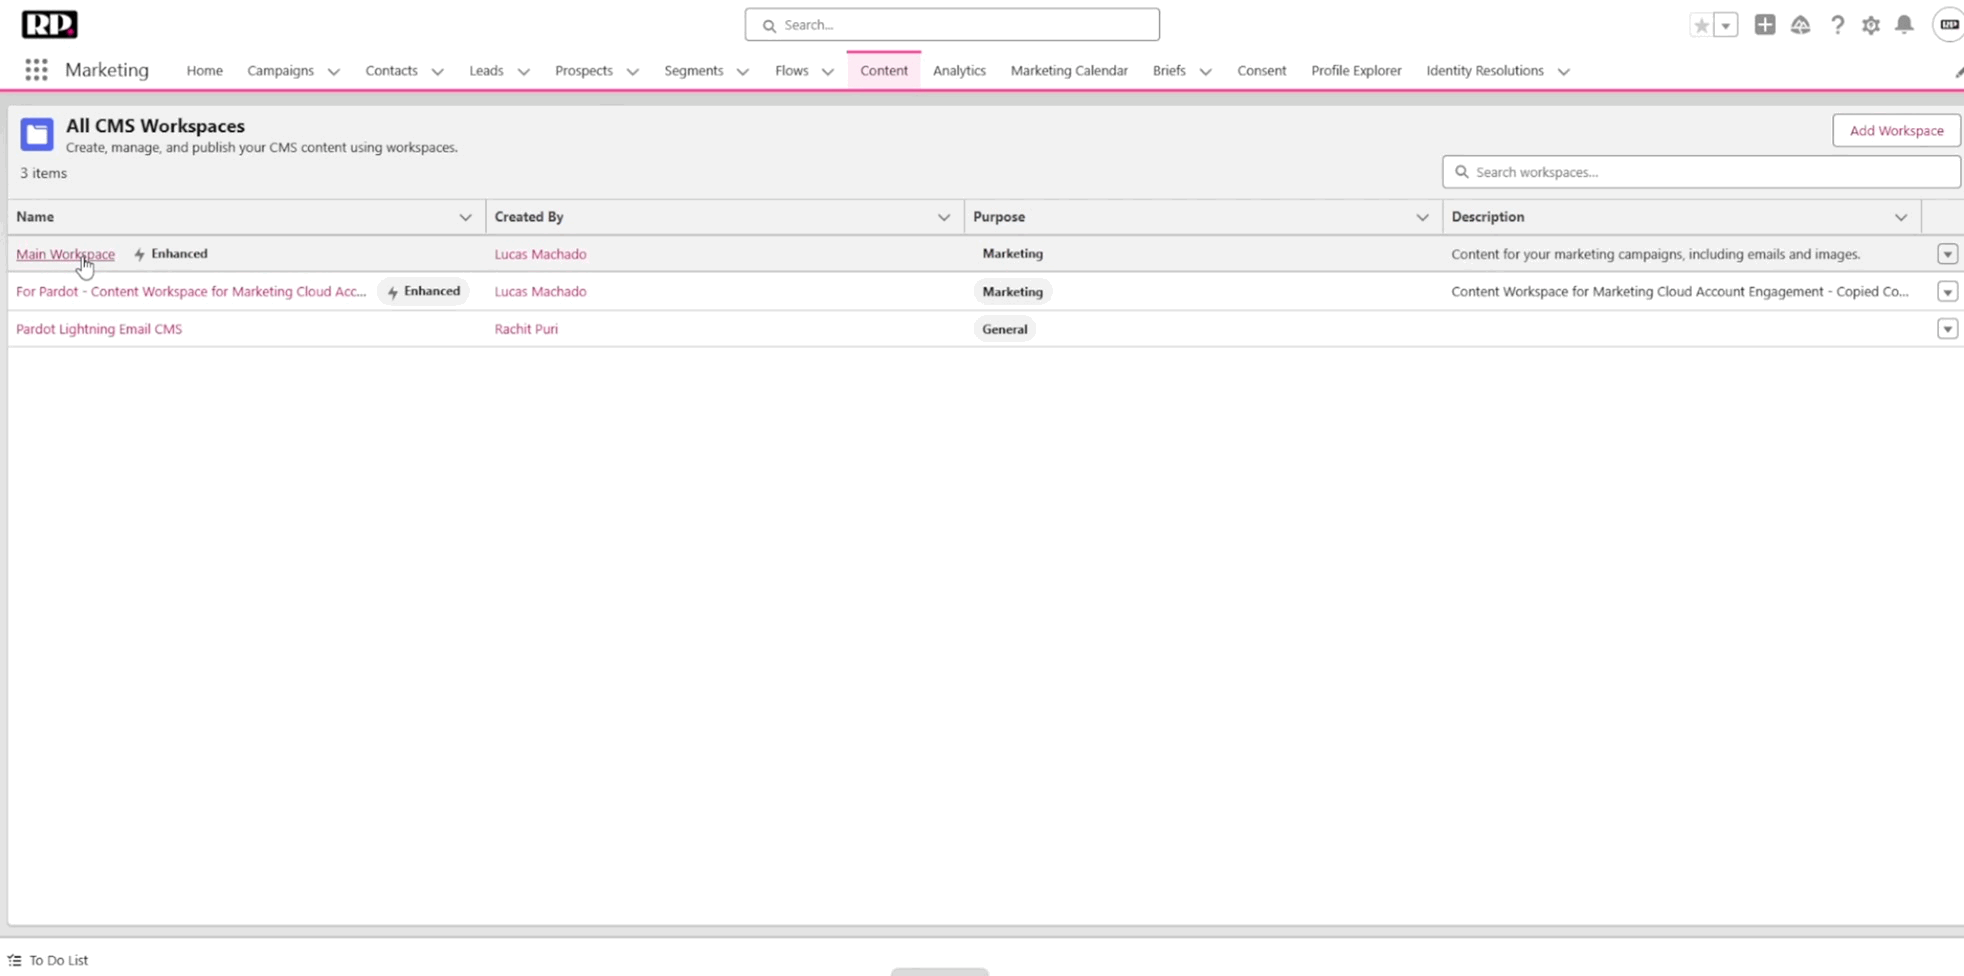
          Content is where your content management system lives. Here, you will have access to your CMS Workspaces, which are organized into folders. You can create new brand styles, content blocks, email templates, and other assets.

          (The Content tab showing the Main Workspace)

          Analytics is your reporting hub. If you’re familiar with Salesforce reporting, this will feel comfortable.

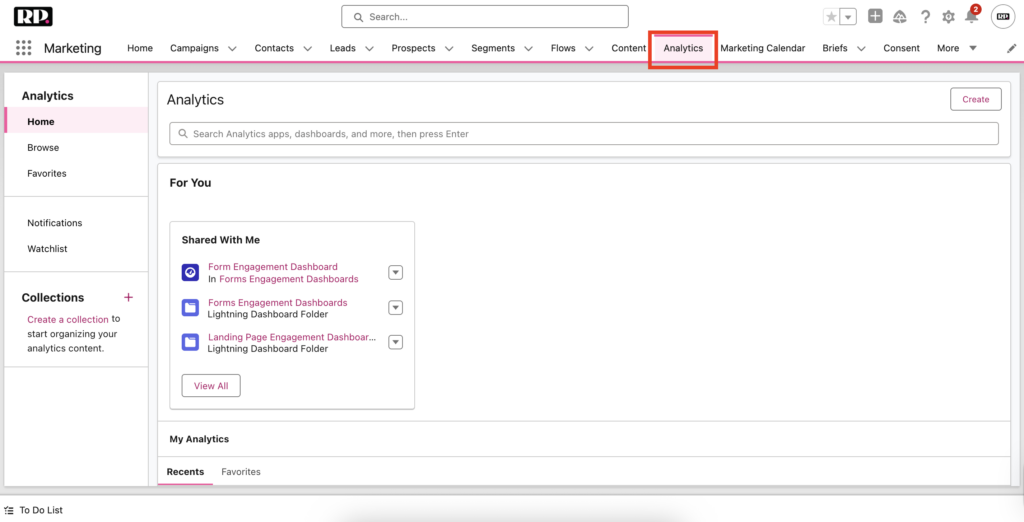
          (The Analytics Tab in MCN)

          Profile Explorer lets you look up any individual and see all of their activity, field mappings, and connections to other Salesforce objects in one place.

          (The Profile Explorer Tab, after searching for “[email protected]”)

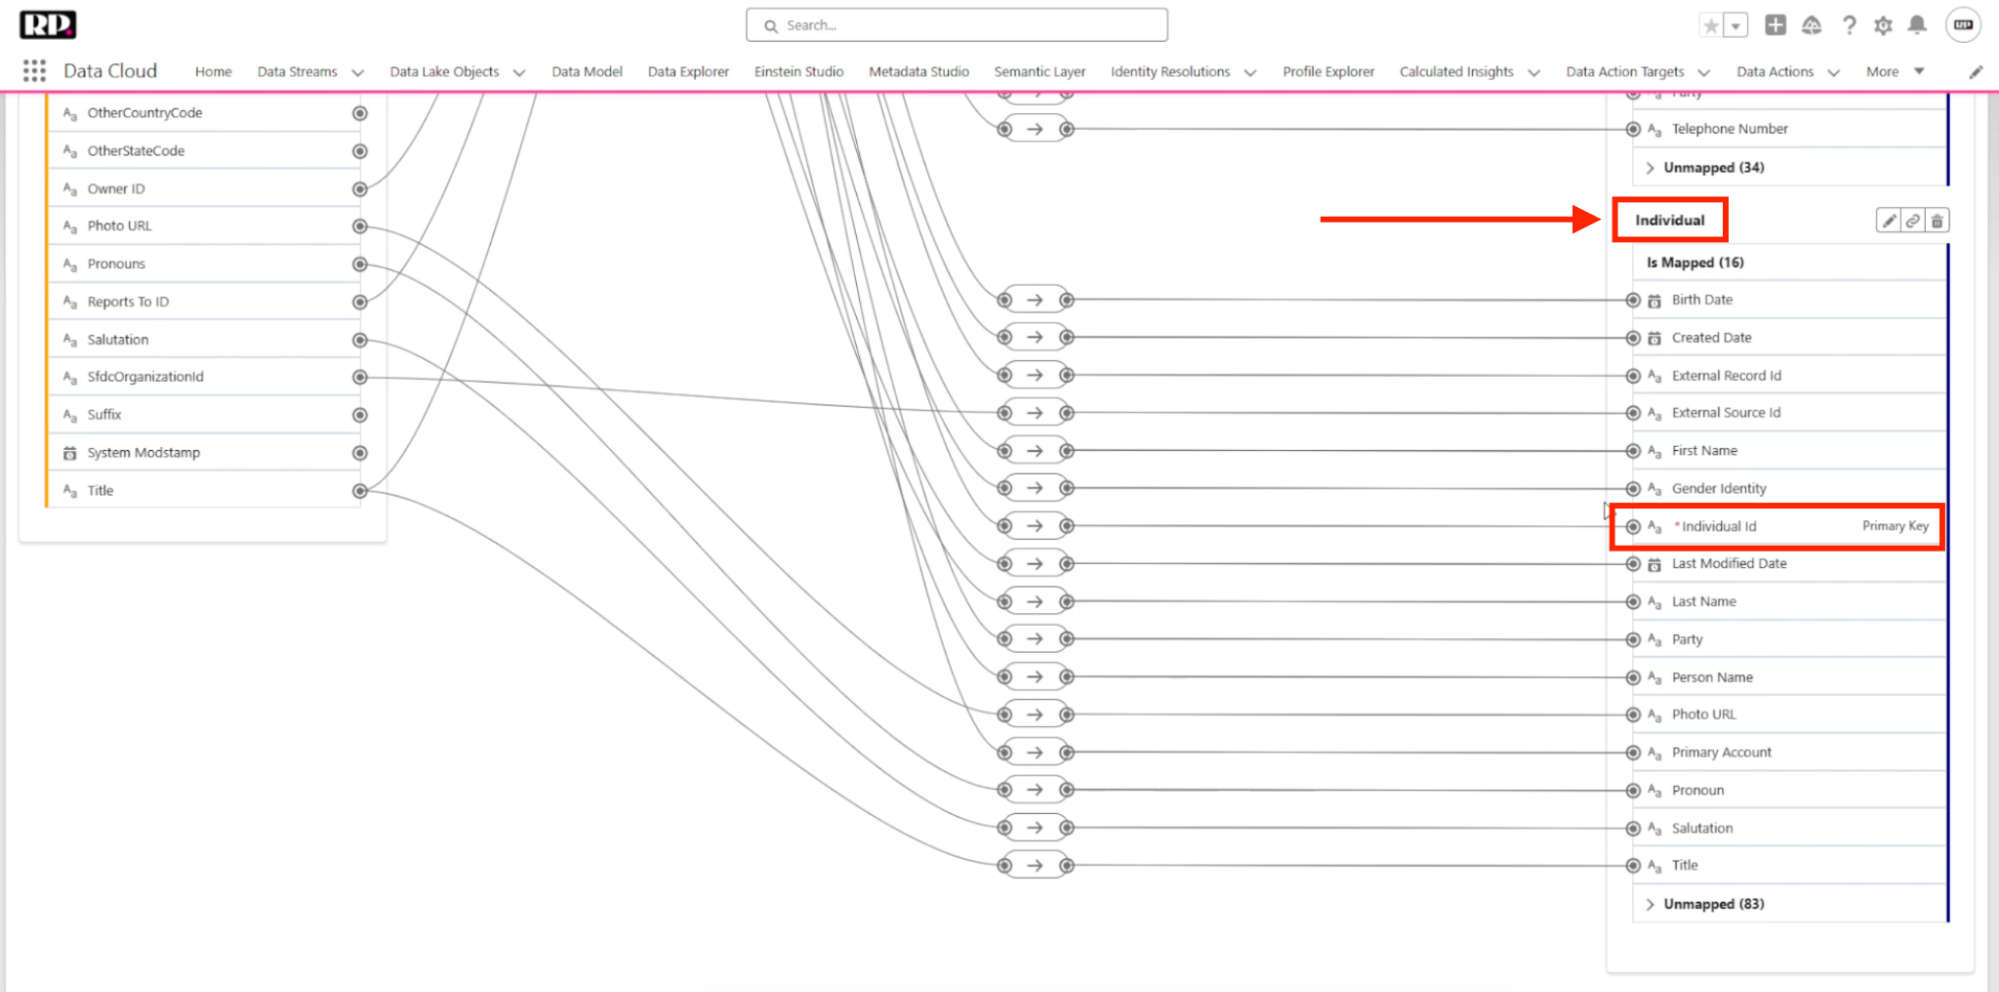
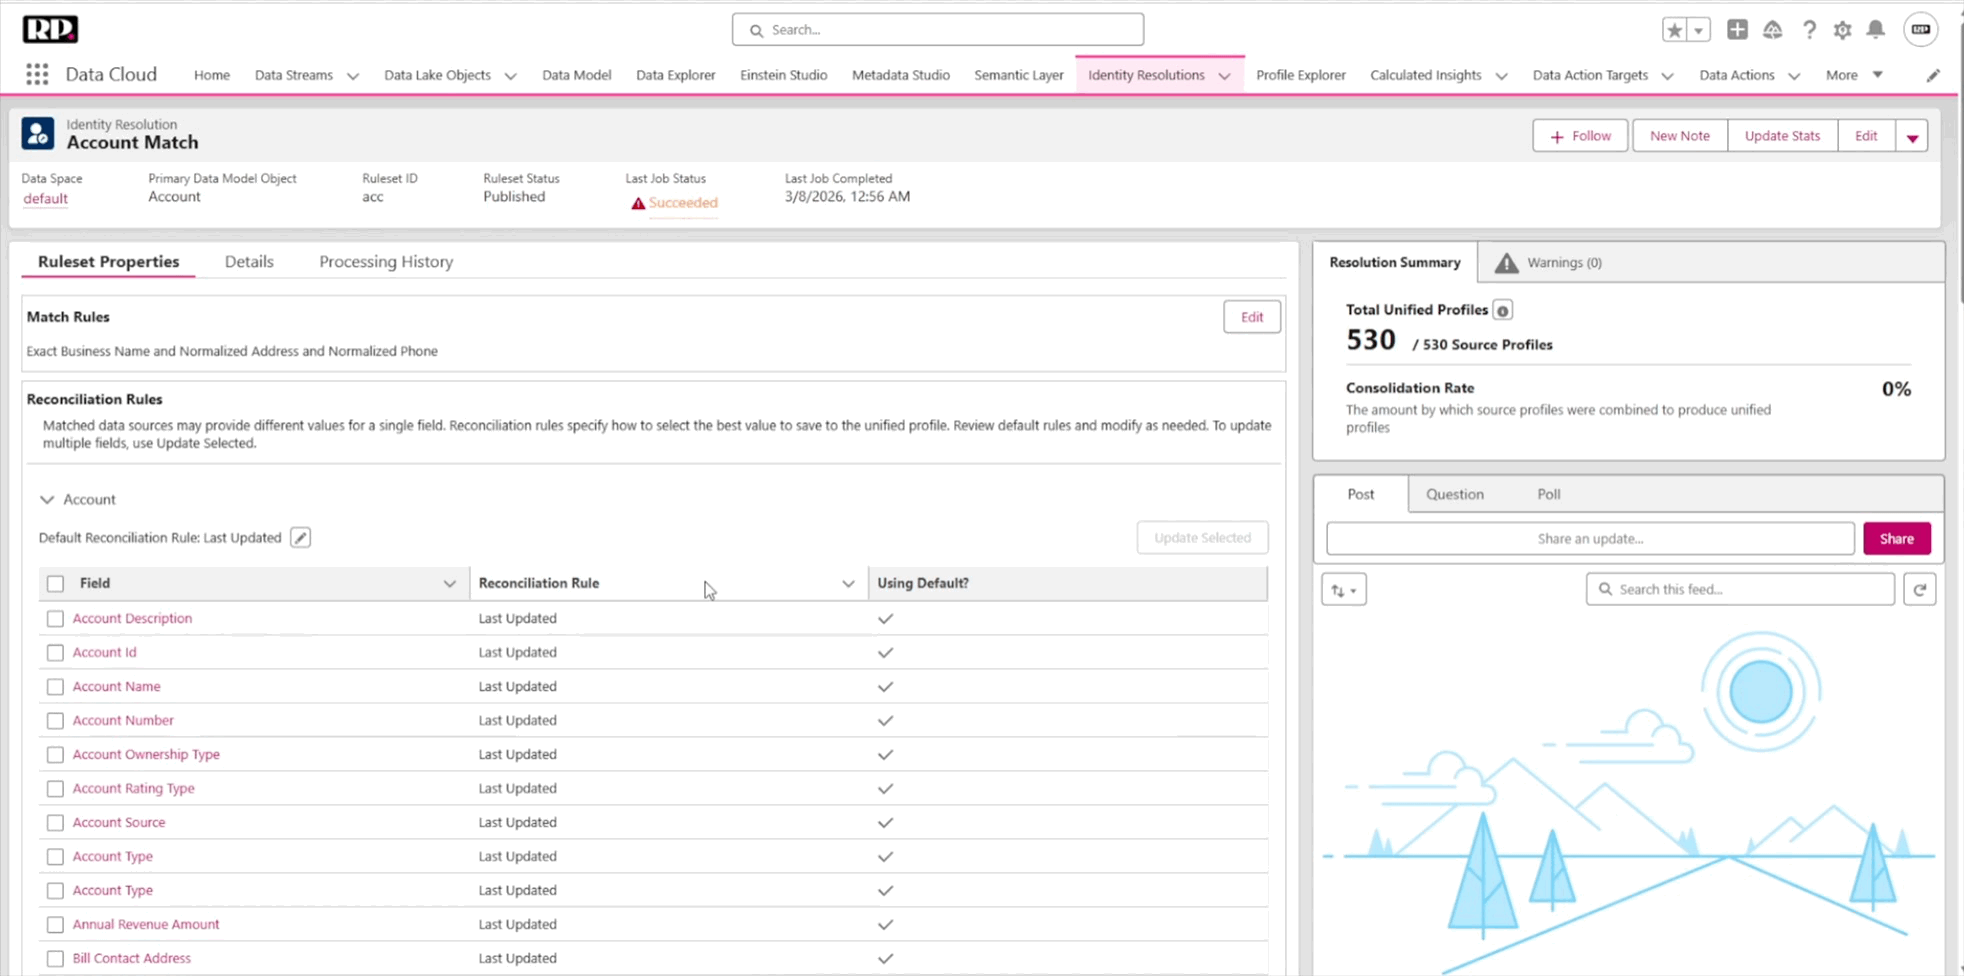
          Identity Resolution is where you configure deduplication rules, match records to unified individuals and accounts, and set field-level priorities.

          (The Identity Resolution Tab in MCN)

          And if you’re confused about how to navigate through these tabs right now, don’t worry! We’ll be diving deeper into all of them (even the ones we skipped over here) in future episodes of the guide. This was meant to help you get acquainted with the look and feel of MCN at the most basic level.

          What’s Coming Next

          Across the rest of this guide, we’ll go deeper into implementation, Data Cloud setup, user roles and their caveats, and channel setup. We’ll also cover campaign ops in full, including campaigns, emails, landing pages, forms, flows, and everything in between.

          Hang tight and enjoy the journey! See you in Episode 2. 

          P.S. If you are feeling confused or overwhelmed when navigating through any of the steps in this article, feel free to reference the video above for an in-depth walkthrough.

          Or if you’d rather get some help from one of our MCN experts, reach out here!

          EP 2: Data Cloud Foundations

          Episode 2: Data Cloud Foundations

          TL;DR

          • Data Cloud merges your CRM data and feeds it into Marketing Cloud Next.

          • Four permission levels control who can view, create, or manage Data Cloud resources.

          • Data flows through three layers: Data Lake Objects (raw) → Data Streams (mapping) → Data Model Objects (usable).

          • Contacts and leads get unified into a single Individual object that MCN uses for campaigns.

          • Identity Resolution handles deduplication so you don’t end up with duplicate records.

                  Welcome to Episode 2 of RP’s MCN Migration Guide!

                  In Episode 1, we introduced Marketing Cloud Next at a high level and talked about the mindset shift required to work with it. In this episode, we’re shifting focus. We’re not going to talk too much about Marketing Cloud Next itself, but we are going to talk a lot about Data Cloud.

                  Why Data Cloud? Because it is the underlying system that merges data from Salesforce CRM and your other sources and makes it available to Marketing Cloud Next.

                  If you’re using Salesforce CRM (SalesCloud), you have contacts, leads, and accounts. All of that data has to be made available to marketing. Contacts and leads must become one object so they can all be targeted by your campaigns. Of course, you want to know which ones are contacts and which are leads, but they have to become available to your systems. And to do that, we use Data Cloud.

                  Permission Sets and Access Levels

                  Once you get Marketing Cloud Next from your Salesforce team, you also get Data Cloud (or at least Data Cloud for Marketing Cloud), and it’s usually already set up for you. You don’t have to worry too much about the initial setup. But there are a few things you do need to handle, and assigning licenses is one of them.

                  If you’re a Salesforce admin and you navigate to your permission sets, you’ll see four Data Cloud permission levels:

                  Data Cloud Architect:
                  The admin-level role. Full access to view everything, set up, and do all the admin work in Data Cloud.

                  Data Cloud Activation Manager:
                  The second tier. Can manage your overall segmentation strategy, creating active targets and activations.

                  Data Cloud Activation Specialist: Can create segments and activations, but cannot activate them.

                  Data Cloud User:
                  View-only access. Cannot change, create, or manage anything.

                  (Data Cloud permission sets in Salesforce)

                  Data Spaces and Data Sources

                  After you have your access sorted, you’ll want to understand Data Spaces.

                  You can think of a Data Space as a segmentation of your data. Your Data Cloud instance is still one unified system, but Data Spaces manage how the data goes out. The data comes in from raw sources like your CRM and website, and it goes out to different places. Those output destinations are managed by Data Spaces.

                  For example, you can have Data Spaces for regions: one for North America, one for LATAM, one for APAC. Because of that, those teams can treat the data differently, segment it differently, and create different campaigns without needing access to each other’s Data Spaces. The North America team only sees the North America Data Space, while the APAC team only sees theirs, and so on.

                  In many cases, you’ll just have one: the default Data Space. But it’s good to know the option exists as you scale.

                  To access your Data Spaces view, look for “Open Data Spaces Setup” from the Data Cloud home page.

                  (Data Cloud Home page)

                  (Data Spaces view)

                  You can also connect different data sources from this area. You can connect your Salesforce organization, Marketing Cloud Engagement, Marketing Cloud Personalization (for e-commerce), website, mobile app, or use the API. There are a bunch of different connections available.

                  (“Connect Other Data Sources” in Data Cloud)

                  In most cases, the CRM connection already comes in by default, so you don’t have to worry about it. But if you did need to connect one, you would click “New,” create a Salesforce connection, set up the connection alias, and follow the steps to authenticate with your Salesforce instance.

                  The Core Data Flow: Data Lake Objects → Data Streams → Data Model Objects

                  This is the most important concept in this episode, and it’s worth spending a little extra time on.

                  Data Lake Objects are your raw data. They come from your different sources (like your CRM) every single day. They are connected, and they come in as raw data that you cannot use directly in any sort of activation.

                  Data Streams are the mapping layer. They connect Data Lake Objects to Data Model Objects by mapping fields from one to the other.

                  Data Model Objects are the output. This is the usable, structured data that your campaigns and segmentations will actually work with.

                  (Data Cloud navigation showing Data Model, Data Lake Objects, Data Streams)

                  Here’s a concrete example. Your accounts come in from the CRM as a Data Lake Object. If you look at the Data Stream connected to that object, you’ll see how fields are mapped. The account description in the Data Lake Object, for instance, maps to the account description in the Account Data Model Object.

                  But it’s not always a one-to-one mapping. Sometimes you’re pointing fields from one object to several different output objects. An account might map some fields to the Account object, but others to Contact Point Address or Contact Point Phone. This flexibility is what makes the system powerful, but it’s also what can feel confusing at first.

                  (Navigate to Data Stream mapping view)

                  Mapping Contacts and Leads to Individuals

                  Here’s where things get really important for your day-to-day work in MCN.

                  The Individual object is the one you’re going to work with inside of Marketing Cloud Next. You won’t be using leads or contacts directly. Instead, you’ll use one unified object that brings everything together.

                  To get there, both contacts and leads have to be transformed into individuals. If you open the contact data mapping, you’ll see that the contact is mapped to several Data Model Objects at once: the Account Contact data model, Contact Point Address, Contact Point Email, and most importantly, the Individual.

                  (Contact data mapping showing connections to the Individual object)

                  The mapping screen is also where you can customize field connections. For example, if you had a field like “Suffix” on the contact that wasn’t mapped to the Individual, you could connect it by dragging and linking the two fields. And if you made a mapping you didn’t want, you can delete the connection just as easily.

                  The lead object works the same way. It gets mapped to Contact Point Address, Contact Point Email, Contact Point Phone, Identity Match, and the Individual. So now you have individuals being created from contacts and individuals being created from leads. Naturally, some of those will be duplicates. Some leads may have already been converted to contacts.

                  This is where Identity Resolution comes in. Identity Resolution handles the deduplication between individuals and also between accounts, making sure you don’t end up with a bunch of duplicate records in your system. We’re not going to go deep on Identity Resolution in this episode. It will get its own full video and article. Just know that this is where it lives and why it matters.

                  Getting Comfortable with Data Cloud

                  One more tool worth mentioning is the Data Explorer. If you want to explore a specific object, you can search for it here and get a clear view of how it works, what columns it has, and see a few of your actual records. It’s a good way to poke around and understand your data.

                  (Data Explorer showing an account object)

                  Data Cloud is one of the more challenging concepts when it comes to understanding how Marketing Cloud Next works. As marketers, we’re usually not used to dealing with data lakes, data streams, and all these different areas. And the good news is that setting up and working with Marketing Cloud Next doesn’t require you to fully understand every detail of Data Cloud.

                  But knowing this foundational concept – the data comes in as Data Lake Objects, it goes out as Data Model Objects, and those two things are connected via Data Streams – is important. It will help you create more interesting objects, connect your data better, and build more powerful segmentations for your campaigns.

                  Don’t be afraid to get your hands dirty. Most of it comes already set up by default, but you can mess around. You can see how things work. Lucas himself had to create three different identity resolutions and struggled with data streams in the beginning. There were connections that didn’t make sense at first. But after a while, you start getting it.

                  What’s Coming Next

                  In the next episode, we’ll show you how to set up MCN for the first time, including licensing, provisioning, and permissions for all users!

                  P.S. If you are feeling confused or overwhelmed when navigating through any of the steps in this article, feel free to reference the video above for an in-depth walkthrough.

                  Or if you’d rather get some help from one of our MCN experts, reach out here!

                  EP 3: Initial MCN Setup

                  Episode 3: Initial MCN Setup

                  TL;DR

                  • Most of the MCN enablement checklist is already done for you by Salesforce.

                  • If enabling fails, raise a support ticket instead of repeatedly clicking.

                  • MCN requires three separate access layers: permission sets, app visibility, and CMS workspace access.

                  • Only System Admin can see the Marketing Cloud app by default, so add other profiles manually.

                  • Don’t commit to sending emails until consent, segmentation, and authentication are fully set up.

                          Welcome to Episode 3 of RP’s MCN Migration Guide. In this episode, we walk through the full process of enabling Marketing Cloud Next, provisioning user access, and getting your team into the platform.

                          We also share a real story from our own migration about what happens when you commit to sending an email before your instance is truly ready. Spoiler: it involves a mild panic attack.

                          The goal here is simple. You should be able to come into this episode without MCN enabled and leave with your instance up, your first users inside, and a clear understanding of the access layers you need to configure.

                          Let’s jump in!

                          Enabling Marketing Cloud Next

                          To get started, navigate to Setup > Marketing Cloud Assisted Setup > Basic Settings. You’ll see a checklist of tasks that need to be completed. The good news is that Salesforce will have already done most of them for you.

                          (The Marketing Cloud Assisted Setup checklist in Basic Settings)

                          Here’s what each item involves:

                          Enable Data Cloud. This is typically already done. If it’s not, it’s a straightforward toggle.

                          Create a Salesforce CRM Connector. Sometimes this is already done. To check:

                          1. Go to Data Cloud > Salesforce Integrations > Salesforce CRM.
                          2. Look for your connection in the list. If it’s there, you’re all set.
                          3. If it’s not listed, click New and follow the steps. This connects your CRM with Data Cloud.

                          (The Salesforce CRM connector page showing connections)

                          Add your default email channel. This should come by default with no further action needed.

                          Add data protection details to records. Also should come by default. If it didn’t, go to Data Protection and Privacy, click Edit, and check the checkbox.

                          Select the data space. Data Cloud can be segmented into different data spaces (for example, one for North America, one for EMEA, one for APAC). If you only have one, select the default and confirm.

                          Once all of that is complete, click Enable.

                          What to Do When Enabling Fails

                          If you click Enable and it doesn’t work, try once or twice more. If it still fails, don’t keep clicking because you risk locking something in your instance. This is the time to raise a Salesforce support ticket. 

                          In most cases, this is a provisioning issue on Salesforce’s backend. During our own migration, we had acquired MCN before all of the backend infrastructure on the Salesforce side was finished. Some parts of their system said we didn’t have access to Marketing Cloud when we actually did. Once we reached out to support, the issue was resolved.

                          Installing Marketing Data Kits and Identity Resolution

                          After enabling MCN, you’ll need to install the marketing data kits from Data Cloud. These connect your data with your marketing assets. This is pretty straightforward, just click install and wait. 

                          You’ll also need to configure identity resolution, which is how you set up deduplication rules, match records to unified individuals, and set field-level priorities. This is a complex topic that gets its own full episode coming up!

                          Provisioning User Access

                          This is where things get a bit tricky. Because MCN has multiple layers of access that all need to be configured, missing any one of them means your team will be locked out of something.

                          Permission Sets

                          MCN comes with two default permission sets:

                          Marketing Cloud Manager can manage campaigns, set up communications, build flows, and handle day-to-day marketing operations.

                          Marketing Cloud Admin goes deeper into the administrative side of the platform, with broader control over settings and configurations.

                          Assign the appropriate permission set to each team member based on their role. But don’t stop here, because permission sets alone are not enough.

                          Making the App Visible

                          Marketing Cloud Next is an app inside Salesforce. To access it, users search for “Marketing” in the app launcher. But if their user profile hasn’t been added to the app, they won’t be able to see it at all.

                          This is exactly what happened during our own migration. We assigned the Marketing Cloud Admin permission set to a team member, but when they tried to log in, they just got a red banner saying they didn’t have access. They refreshed the page, logged out and back in, and even waited a few days. Nothing helped.

                          The issue was that their user profile hadn’t been added to the Marketing Cloud app. Only the System Admin profile is included by default. Here’s how to fix it:

                          1. Go to Setup > App Manager.
                          2. Find the Marketing Cloud app in the list.
                          3. Click Edit on the app.
                          4. Navigate to User Profiles.
                          5. Add all the profiles that need access to Marketing Cloud Next.
                          6. Save your changes.

                          (Adding profiles that need access to Marketing Cloud Next)

                          This is a step that many people miss because it feels counterintuitive. You already gave someone a permission set, so why would they also need profile-level access to the app? But Salesforce works with multiple layers of security like this.

                          CMS Workspace Access

                          Even after your team has permission sets and app access, they may still not be able to see the Content Management System. This is yet another access layer.

                          To grant CMS access:

                          1. Navigate to your workspace (for example, Main Workspace).
                          2. Click on the Contributors section (look for the settings icon).
                          3. Click Add Contributors.
                          4. Search for and select the team members you want to add.
                          5. Assign each person a contributor role:
                            • Content Admin — can see and manage everything, including adding people and languages.
                            • Content Manager — can only see and work with the content itself.

                          Other roles — can create content but not publish it.

                          (The Contributors panel within a CMS workspace, showing the role assignment options)

                          Be sure to set all of this up when you’re first provisioning your team. Otherwise, you’ll get a lot of messages from colleagues telling you they can’t see anything.

                          Our First Email: A Cautionary Tale

                          Once our team had access to MCN and the audience was mostly migrated, we were asked if we could send our monthly newsletter from Marketing Cloud Next. We said yes. How hard could it be?

                          We set up DMARC and DKIM for Marketing Cloud Next, which also meant removing DMARC and DKIM from Pardot. So suddenly, we couldn’t send emails from Pardot anymore. But we also couldn’t send from MCN yet, because we hadn’t set up consent, segmentation, or basically anything else. We had access, and that was it.

                          To make things worse, we were at a conference that week, and the newsletter was supposed to go out in a few days!

                          The big takeaway here is that having access to MCN is not the same as being ready to send. 

                          You still need to configure consent, segmentation, email authentication, and more before your first email can go out. Don’t commit to a send date until those things are in place. And definitely don’t disable your existing platform’s email authentication before the new one is fully operational.

                          In the end, we made it work, but it was a product of some very creative problem-solving under pressure!

                          What’s Coming Next

                          In the next episode of our guide (and the final instalment in Part 1), we’ll cover identity resolution in depth. Stay tuned!

                          P.S. If you are feeling confused or overwhelmed when navigating through any of the steps in this article, feel free to reference the video above for an in-depth walkthrough.

                          Or if you’d rather get some help from one of our MCN experts, reach out here!

                          EP 4:  Identity Resolution

                          Episode 4: Identity Resolution

                          TL;DR

                          • Identity resolution transforms your contacts, leads, and prospects into unified individuals so you’re not talking to the same person twice.

                          • You can generate the default Salesforce rule set or create custom match rules based on your needs.

                          • Identity resolution runs daily and consumes credits, so keep only one active rule for accounts and one for individuals.

                          • After creating your unified objects, select them in your basic settings, so MCN knows to work with them.

                                  Welcome back to RP’s MCN Migration Guide! In this episode, we’re covering identity resolution, which is one of the most important configurations you’ll set up in your Marketing Cloud Next instance.

                                  Let’s get straight into it.

                                  Why Identity Resolution Matters

                                  Marketing Cloud Next uses one object called an individual. These individuals come from your contacts, your leads, your prospects, and other objects from the CRM across multiple sources. The question is: How do you know if you’re talking to the same person more than once?

                                  For example, when a lead auto-converts to a contact, that person can end up existing as both a lead and a contact in the system. They’re the same person, but now they may have duplicate entries.

                                  This is where identity resolution comes in. You need something that will transform your individuals into unified individuals. And you have the same thing for accounts. It’s a set of rules that will deduplicate your accounts and deduplicate your individuals, then consolidate those into a set of objects that you can reliably use.

                                  Setting Up Your Match Rules

                                  You can set up your identity resolution rules in a few different ways. You can build them out manually, or you can go to your basic settings in Marketing Cloud and generate the default rule set. The default rule set is the one recommended by Salesforce when initially setting up your unified individuals and unified accounts. Let’s walk through the rules for each.

                                  Unified Account Rules

                                  The default rules for unified accounts use three “match” criteria: exact business name, normalized address, and normalized phone. If two accounts have the same name, the same normalized address, and the same normalized phone, they will be merged into the same unified account.

                                  You also have reconciliation rules for every specific field. 

                                  For example, the account description will use the value that was last updated. Most default reconciliation rules follow this same “last updated” pattern, but you can set specific ones for specific fields. This also extends to contact point address, contact point email, and contact point phone, all of which you can configure with different reconciliation rules to decide which field to pick from which object.

                                  To add a custom match rule:

                                  1. Navigate to the Identity Resolution tab.
                                  2. Click “Add” to create a new match rule.
                                  3. Give it a name.
                                  4. Select the data model object and the field you want to match on.
                                  5. Choose your match method.

                                  As another example, you could create a rule called “Domain Match” where you match accounts based on their website field using fuzzy high-precision matching. 

                                  You have the flexibility to build whatever matching logic makes sense for your organization.

                                  (Adding a custom match rule in the Identity Resolution UI)

                                  Unified Individual Rules

                                  The default individual “match” rules include: normalized email, lead-to-contact, and device-to-known.

                                  Normalized email compares email addresses. When they are the same after normalization, it reconciles them into one unified individual.

                                  Lead-to-contact is an advanced matching type that looks for leads that were converted to contacts. This is a default category built into Salesforce specifically for this purpose.

                                  Device-to-known handles people who were navigating your website and being captured as anonymous visitors. When they fill out a form and become known, this rule matches them to an individual using an advanced device-to-known setting that is recommended by Salesforce.

                                  If you want additional match criteria beyond these defaults, you can add them here too. For example, you could add a first and last name match rule as another consolidation rule. It’s entirely up to you.

                                  (Individual match default rules in the Identity Resolution UI)

                                  Before You Move On

                                  There are a couple of important things to keep in mind once your rules are set up.

                                  Identity resolution runs every single day. You can see this in the processing history. And every time it runs, it consumes credits. Because of this, we recommend you have just one rule for account matching and one rule for individual matching active. You don’t need more than that, because those are what you’ll be working with.

                                  Once you’ve created your unified individual and unified account, you need to go to your basic settings and select them in the dropdown. This tells Marketing Cloud Next to work with those objects. If you haven’t set up your rules yet, you can also click “Generate Rule Set” here to create the defaults. That said, understanding how these rules work under the hood will make it much easier to set up your account and create custom rules down the line.

                                  What’s Coming Next

                                  In the coming episodes, we’re going to dive much deeper into Marketing Cloud itself, showcasing all the things you can actually do within the platform. Stay tuned!

                                  P.S. If you are feeling confused or overwhelmed when navigating through any of the steps in this article, feel free to reference the video above for an in-depth walkthrough.

                                  Or if you’d rather get some help from one of our MCN experts, reach out here!